Quick Start Guide
Welcome to Mowbly! Follow this guide to help you get started with using Mowbly to bring your awesome app ideas to life. This guide will take you through building a to-do list app called "My Todos" using Mowbly, which works on Android, BlackBerry, iOS and WindowsPhone platforms.
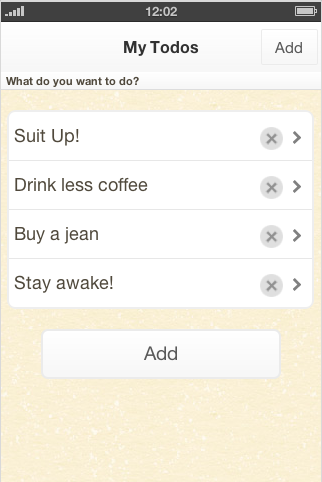

Todos list
To start off, log in to your Mowbly account and add a new Project. Create a HTML file and save it as "My Todos". Drag and drop the Task list UI control from the list of controls into the HTML page.
						<!-- My Todos.html -->
<div data-juci="tasklist"
	id="todos-list"
	data-bind="ref: todos"
	data-title="description">
</div>
Create a Javascript file and save it as "todos.js". Task list displays a list of tasks which can be supplied as a dataset. Refer to the below code to add a dataset containing a sample task to the page. the first parameter is the name of the dataset and is provided as the data-bind.ref in the tasklist control.
						// todos.js
$m.juci.addDataset("todos", [{description: "First to do", completed: false}]);
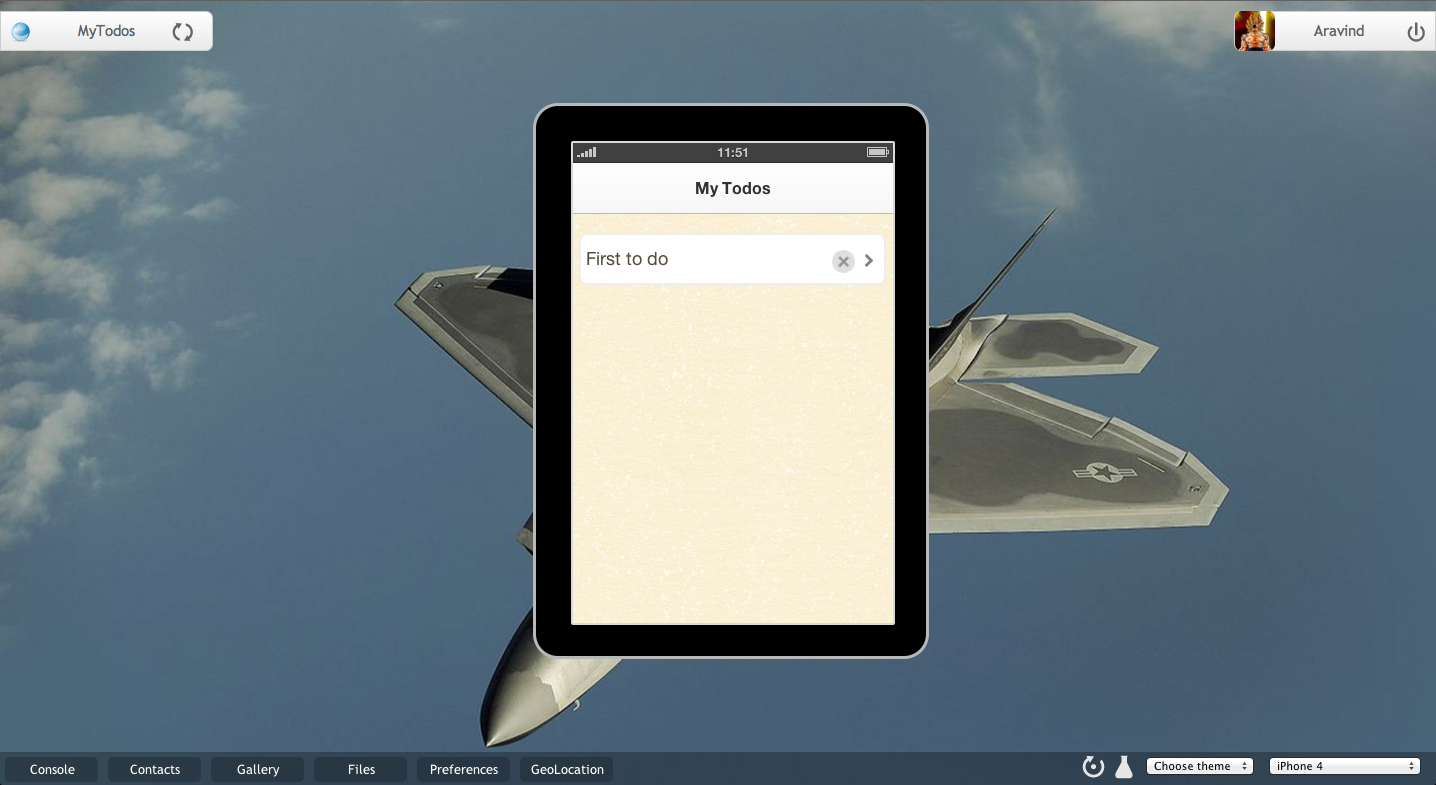
Drag and drop todos.js into My Todos.html below the last script tag or after the script placeholder comment, to add it to that page. You can now preview the page by clicking on Preview in My Todos.html to open the app in the Mowbly Mobile Simulator.
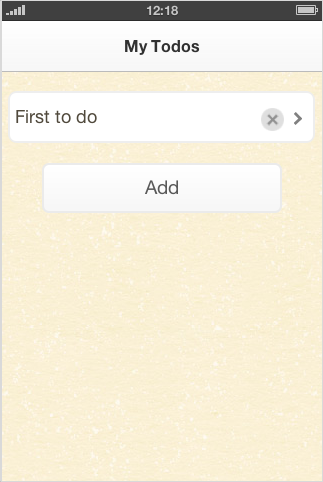
Add a todo
Drag and drop a Vertical buttons group from the list of UI controls into My Todos.html.
Add a onclick handler that will call an API to create a new todo as given below,
						<!-- My Todos.html -->
<div class="juci_vertical_bbar">
	<button data-juci="button" onclick="createItem()">Add</button>
</div>
						// todos.js
function createItem(){
	$m.juci.getControl('todos-list').createItem({description: "", completed: false});
}
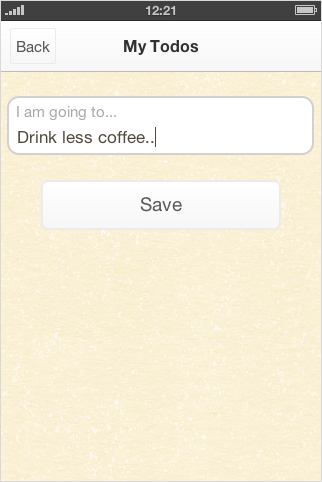
Now, to add the description for the new todo, add a listcontent within the task list as given below.
						<!-- My Todos.html -->
<div data-juci="listcontent">
	<!-- A text control for entering the todo goal -->
	<div
		data-juci="text" data-bind="ref: $data.description"
		data-label="I am going to..."
		data-bind placeholder="What's the plan?">
	</div>
	<div class="juci_vertical_bbar">
		<!-- A button to update the todo -->
		<button data-juci="button" type="submit">Save</button>
	</div>
</div>
You can preview to view the changes made. Try creating new todos and saving them. You can also update existing todos.

Finish a todo
The user can finish a todo by tapping on the delete icon in the list. Add a ondeleteclick handler on the task list to listen and finish a todo.
						<!-- My Todos.html -->
<div data-juci="tasklist"
	id="todos-list"
	data-bind="ref: todos"
	data-title="description
	ondeleteclick="finishTodo(event)"
</div>
						// todos.js
function finishTodo(event){
	// Prevent default action of deleting the todo
	event.preventDefault();
	// Check if the todo is completed
	if(event.data.completed){
		// Reset it.
		event.wrappedData.completed(false);
		event.listItem.css("textDecoration", "none");
	}else{
		// Set as completed and strike off the item in the list
		event.wrappedData.completed(true);
		event.listItem.css("textDecoration", "line-through");
	}
}


Save todos to file
To persist the todos list for the user, you can save the todos to a file using $m.writeFile.
						// todos.js
var FileName = "_todos.dat";
$m.onClose(writeToFile);
function writeToFile(){
	// Code to execute when the page is closed
	// Get the list of incomplete todos to persist
	var pendingTodos = $m.juci.dataset("todos").filter(function(item){
		return !item.completed;
	});
	// Write to file
	$m.writeFile(FileName, pendingTodos, function(response){
		if(response.code == -1) {
			// External storage is not ready. Possible reason could be the storage
			// is mounted to file system on a computer.
			return;
		}
		if(response.code){
			// Success
			$m.toast("Saved!");
		} else{
			// Error
			var errMsg = response.error.message;
			$m.toast("Uh-oh, something went wrong - " + errMsg);
			$m.logError("File write error - " + response.error.message);
		}
	});
}
The write operation should be called whenever the app is closed (through $m.onClose) or a change is made to the todos list. Call the write operation whenever the todos list is updated, i.e. add onafterchange to the task list.
						<!-- My Todos.html -->
<div data-juci="tasklist"
	id="todos-list"
	data-bind="ref: todos"
	data-title="description"
	ondeleteclick="finishTodo(event)"
	onafterchange="writeToFile()"
</div>
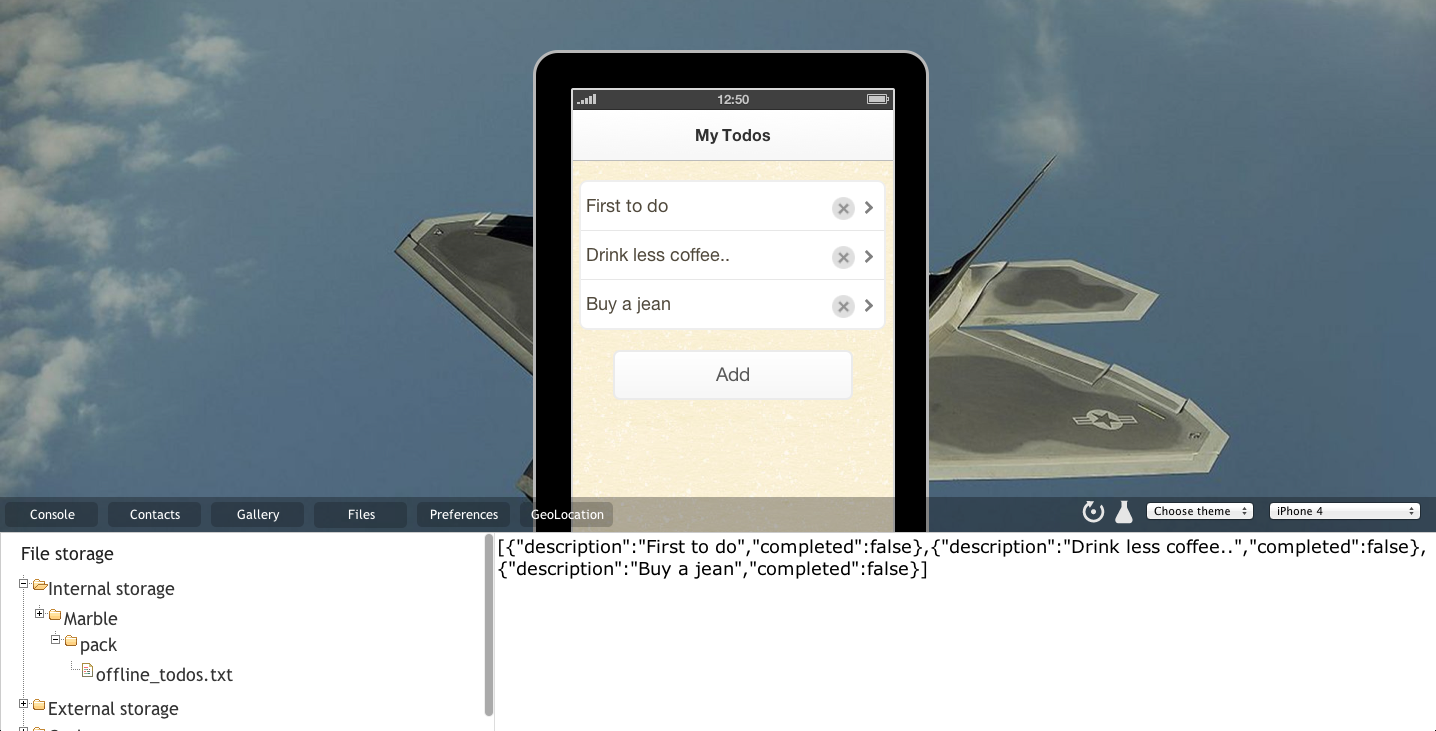
Add a new todo and check the Mowbly Mobile Simulator Files pane to see your todos list saved.
Load saved todos
After saving to file, the list can be loaded from the file using $m.readFile. This can be done using $m.onData whenever the page is opened.
						// todos.js
$m.onData(function(eventObject){
	// Code to execute when a data is received from parent page
	$m.readFile(FileName, function(response){
		if(response.code == -1) {
			// External storage is not ready. Possible reason could be the storage
			// is mounted to file system on a computer.
			return;
		}
		if(response.code){
			// Success
			var fileContent = response.result;
			$m.juci.dataset("todos", fileContent);
		} else{
			// Error
			var errMsg = response.error.message;
			$m.toast("Uh-oh, something went wrong - " + errMsg);
			$m.logError("File read error - " + response.error.message);
		}
	});
});
Pack and Build
Create a pack and add My Todos.html and todos.js into the pack.
Save it as "My Todos". You can now login to your account on the Mowbly Enterprise app on your smart phone and check out your first app built using Mowbly!
Congratulations on building your first app using Mowbly!